A white ring on an oak table looks like a disaster. It rarely is. More often than not you are looking at moisture trapped in the finish rather than damage to the wood underneath, and it will lift with warmth, a soft cloth and a little patience. What matters is that you match the method to the finish first — oiled oak forgives a lot, lacquered oak does not — and that you start gently. A ring you could have dried off is a small problem; a dull patch you created yourself with an abrasive cleaner is a much bigger one.
First, work out what you are dealing with
Before you touch anything, identify the finish. Oak tables are usually either oiled (sometimes waxed over the top) or finished with a lacquer, varnish or polyurethane film. The difference changes everything about how you treat a mark.
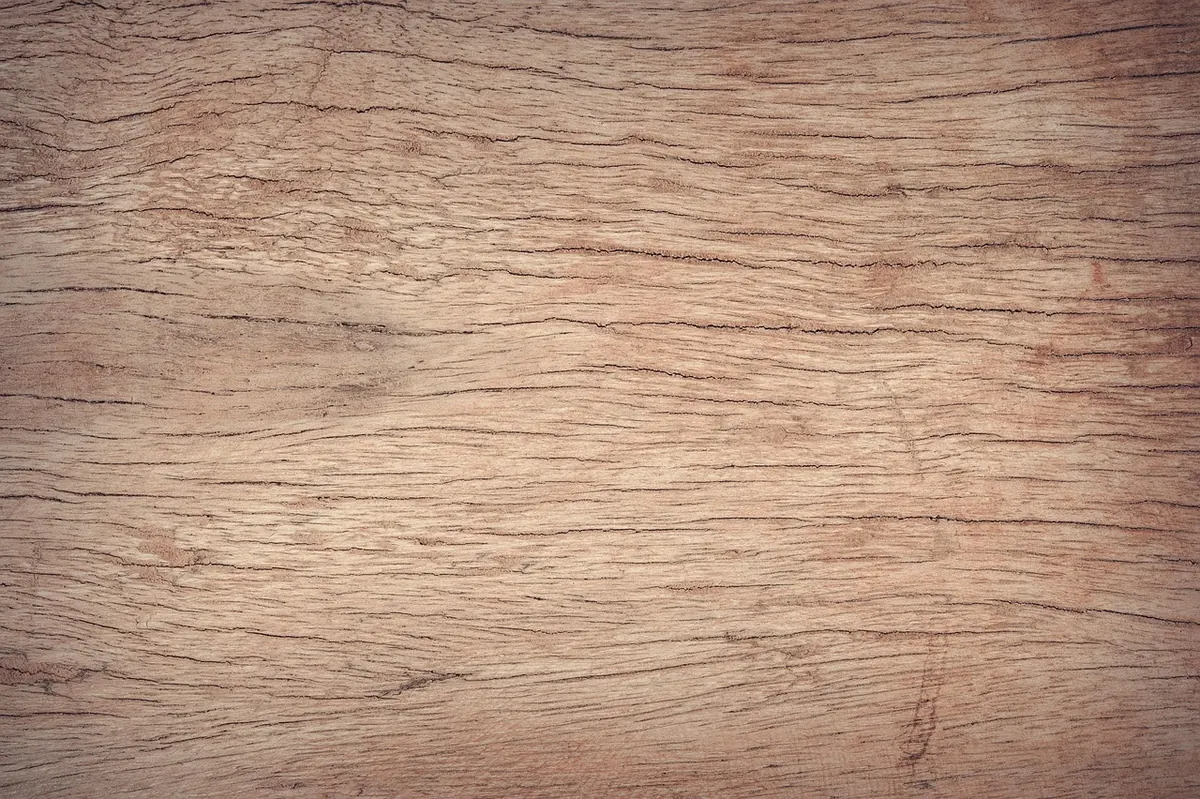
- Oiled oak: matte and dry-looking, with an open, tactile grain. A drop of water darkens it temporarily because moisture is going into the timber itself.
- Lacquered oak: a thin, even film sitting on top of the grain. Water beads on the surface rather than soaking in, and the sheen is consistent across the board.
Then look at the mark. A pale, cloudy ring is moisture caught in the finish. A general haze across a patch, often after a hot dish, is heat bloom. A crisp grey or black ring means water reached the timber, and that is a different job altogether. If you are unsure, test any method on the underside of the table or the back edge of the top before you go near the visible surface.
Try warmth before anything wet
Heat is the gentlest tool you have for a cloudy white ring, because it drives trapped moisture back out of the finish. Two ways to do it, both simple.
The hairdryer method
Set the dryer to its lowest heat and hold it about 15 centimetres from the ring. Keep the nozzle moving in slow circles rather than holding it still. Give it 20 to 30 seconds, then stop and look. Repeat a few times if the ring is still fading. Some marks lift in a minute; others need three or four short passes with a rest in between.
The iron and cloth method
For a stubborn bloom, lay a clean cotton tea towel over the mark and run an iron over it on the lowest dry setting — no steam, ever. Move the iron in short passes of two or three seconds each, lifting the cloth to check after every pass. Stop the moment the ring disappears. Leaving the iron sitting still is how heat marks get worse rather than better.
Gentle household remedies for white rings
If warmth alone will not shift it, work through the following in order. Give each one a fair go and a night's rest before moving on, rather than layering treatments on top of each other in one afternoon.
- Wipe the area with a barely damp cloth and dry it thoroughly.
- Dab a little mayonnaise onto the ring and leave it for an hour. The oils in it often soften the trapped moisture just enough.
- Alternatively, make a paste from bicarbonate of soda and a few drops of water. Apply it with your fingertip and work it along the grain only, never across it, using almost no pressure.
- Wipe away with a damp cloth, dry the surface, then buff with a soft, dry cloth.
- For older marks, mix a few drops of white vinegar with an equal amount of olive oil, apply thinly, leave for ten minutes, then wipe and buff.
- Leave the table for 24 hours before deciding it has not worked. Rings frequently fade further overnight.
If two gentle attempts have made no difference, stop for the day. More rubbing rarely helps and often dulls the finish around the ring, which then has to be blended in as well.
Refreshing an oiled oak top
On oiled oak, a white mark is often less about damage and more about a thirsty patch. Re-oiling will frequently remove the ring on its own and even out the colour at the same time.
Rub the area with a fine abrasive pad or grade 0000 wire wool, working along the grain with a little Danish or tung oil on the pad. Keep it light and local, feathering outwards past the edge of the mark so you do not create a bright patch. Wipe off the excess, leave it for 20 to 30 minutes, then buff. A second thin coat the next day, and 24 hours to cure before the table goes back into normal use, will usually finish the job. Never flood an oak top with oil; several thin coats beat one heavy one every time.
Caring for a lacquered finish
Lacquered oak needs a lighter touch, because anything abrasive or solvent-based can dull or soften the film. Keep the following well away from the table:
- Abrasive cream cleaners and scouring pads
- Steel wool and coarse sandpaper
- Acetone, methylated spirits and ammonia-heavy cleaners
- Silicone-based spray polishes, which build up into a hazy film and make future refinishing difficult
For day-to-day cleaning, a cloth wrung out in warm water with a trace of pH-neutral washing-up liquid is plenty. Dry immediately afterwards and finish with a soft cloth. A little furniture cream once or twice a year keeps the sheen even without adding a slippery layer.
When the mark has turned black
A dark ring means moisture has passed through the finish and into the timber, staining the oak itself. Lifting that usually means stripping a small area back to bare wood, treating it — oxalic acid is the traditional route for tannin stains, and it needs gloves, ventilation and careful following of the manufacturer's instructions — then re-oiling or re-lacquering the patch to match. It is fiddly work, and on a veneered top it is easy to sand straight through the veneer and ruin the table.
If your table is antique, veneered, French-polished or simply valuable to you, hand it to a furniture restorer rather than experimenting. The cost of a professional repair is almost always less than the cost of a top that has to be replaced.
Keeping rings off your table for good
Prevention is a great deal easier than any of the above. Keep a set of coasters within reach of every seat, use felt-backed mats rather than rubber-backed ones that trap condensation, and put a trivet under anything straight from the oven or the microwave. Wipe spills as soon as they happen rather than letting them sit while you finish your tea.
Oiled tables benefit from a light re-oil once or twice a year, which keeps the surface water-resistant and makes marks far less likely to take hold. Lacquered tops need nothing more than gentle cleaning and the occasional polish. Start with the mildest method, give it time to work, and your oak table will keep its finish for decades.
Photo: omameIS / Pixabay